Chocolate-Banana Sundaes with Homemade Waffle Bowls
Recipe
Prep Time
10
Minutes
Cook Time
50
Minutes
Servings
4
Makes
Share
Recipe by Oh Lady Cakes
Recipe
Ingredients
waffle bowl:
1⁄2 c. powdered cane sugar
1⁄4 c. refined coconut oil, melted (but not hot)
1⁄4 c. So Delicious Dairy Free Unsweetened Coconutmilk beverage
1⁄8 tsp. unsulphured molasses
1⁄4 tsp. pure vanilla extract
1⁄2 c. unbleached flour
1⁄4 tsp. fine sea salt
chocolate sauce:
3⁄4 c. So Delicious Dairy Free Unsweetened Coconutmilk beverage
90g good quality dark chocolate, finely chopped
Pinch of sea salt flakes
additional:
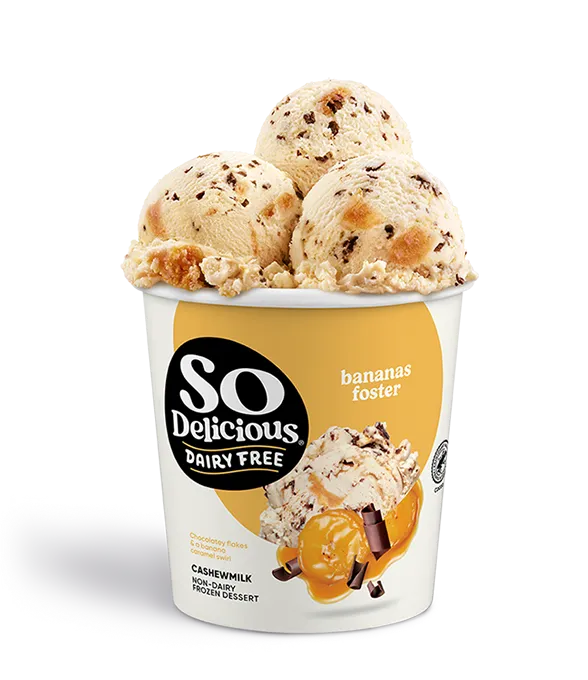
So Delicious Dairy Free Chocolate Drizzled Bananas Foster Frozen Dessert
Coconut whipped cream
Banana slices
Dry-roasted peanuts, roughly chopped
Sea salt flakes
Bing cherries

Directions
- Preheat your waffle cone maker according to the manufacturer's instructions. Next to the waffle cone maker, set a small tapered drinking glass (upside down), a heat-protective glove, and two butter knives.
- In a small mixing bowl, whisk together the sugar, coconut oil, and coconutmilk (add the coconutmilk 2 tablespoons at a time - mixing vigorously after each addition - to ensure you remove all the clumps).
- When the mixture is combined and smooth, whisk in the molasses and vanilla extract followed by the flour and sea salt; mix until smooth (but do not over mix).
- Brush the waffle cone maker with oil then, using a 1⁄4 cup stainless steel scoop, drop a scant 1⁄4 cup of batter (just barely) vertically off center on the preheated waffle cone maker (the batter will be pressed forward so dropping it north of center ensures it will spread evenly over the plates).
- Slowly lower the top plate, attaching the latch (if your maker has a latch) after 8-10 seconds. This last step is important to ensure the batter doesn't get pressed too thin between the plates - waffle cones/bowls that are so thin they tear up the roof of your mouth are no fun to eat.
- When the maker signals the batter is finished cooking, check for color and cook for 10-30 seconds more if a darker color is desired.
- Using the two butter knives, lift the waffle off the plate and center it over the glass. Wrap your hand around it (this is where the heat-protective glove comes in handy) and keep it there for 20-30 seconds, just until it starts to cool and can hold its shape (alternatively, you can wrap it around the cone mold that came with your waffle cone maker).
- Repeat process with remaining batter then let the waffle bowls cool on the towel. If you're not making the sundaes right away, put them on a cookie sheet and loosely cover them with foil; they'll keep for up to two weeks.
- While the waffle bowls are cooling, prepare the easy chocolate sauce. Add the coconutmilk to a small saucepan set over medium heat and bring to a boil.
- Once boiling, add the chocolate and remove the pan from the heat; let sit for five minutes then add the salt and whisk to combine.
- Transfer to an airtight container and refrigerate until you're ready to use. To return to liquid consistency, place the jar in a hot water bath for 20 minutes.
- When you're ready to prepare the sundaes, put two scoops of frozen dessert in each waffle bowl then top with whipped cream, easy chocolate sauce, banana slices, peanuts, sea salt flakes, and cherries. Enjoy immediately.